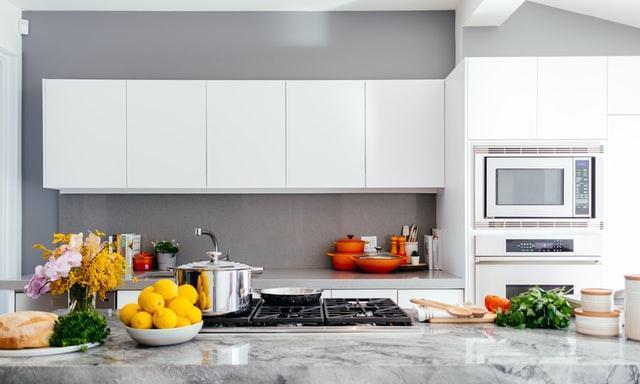
When it comes to a kitchen, there’s a lot of stuff to do if you’re planning to remodel or change the furniture like cabinetries. Cabinetries are one of the essential features that you can’t miss in a kitchen. It’s where you will store and organize your food stocks, kitchenware, tableware, and cutleries. Whether you’re planning to remodel your kitchen layout or change your old cabinets, you have to detach the current ones.
(You may also like this: 10+ Minimalist Apartment Kitchen Ideas for Your Minimalist Home)
If you love DIY work, this process might be helpful for you!
How to Remove Kitchen Wall Cabinets
There are some tools and materials that you have to prepare so everything goes safely and smoothly.
- Gloves and googles
- Drill or screwdriver
- Scrap wood (optional)
- Blankets, furniture pads, or thick sheets
Identifying the Cabinet Type
There are some cabinet types out there so you would want to check them first to make sure whether they are good to be re-used or not. The first one is a pre-fabricated type, which is the type that is usually good to re-use if you’re planning to hang it again once your kitchen remodels process is done.
The next type is the unitized or built-in type which has the opposite characteristic as pre-fabricated. These cabinets are easy to detect because you will just have to see the back of them. Since it’s a built-in style, the wall becomes the base of the cabinets by using nails or glue during the installation process.
(You may also like this: How to Organize Kitchen Cabinets and Drawers)
Prep the Surroundings
After identifying your cabinet type, you’re all set to move forward to the next step!
- Empty your cabinets of any kitchenware, tableware, and other stuff so they will not break and reduce extra weight.
- Please make sure that all electricity around the cabinets is disconnected.
- After ensuring some stuff above, cover the countertop with a thick sheet, furniture pads, or blankets so you don’t have to worry about scratches and unwanted damage.
- If you’re working on the project alone, you will need scrap wood or wood block to support the cabinet while you’re removing them one by one.
(You may also like this: 10+ Rustic Kitchen Ideas That Bring Warmth to Your Favorite Hub)
Start Removing
After making sure the surrounding is safe, it’s time to detach the cabinets one by one.
- Once the support is stable, start detaching the door by using a drill or screwdriver to remove screws from the hinges.
- Next is to remove the shelves. Since the doors are completely detached, you have more space to remove the shelves and remove more weight. In most cabinet types, the shelves are easy to remove by lifting them from the support.
- Now detach the screws that hold cabinet units together. Use a drill or screwdriver to remove them one by one and make sure to hold the cabinet tightly when you’re on the last screw. This prevents cabinets from falling onto the countertop.
- Last but not least, remove the screw that holds the cabinets and the wall. It’s usually on the back or in the corner of the cabinet. Again, please make sure to hold the cabinet tightly on your last screw.
- Now, the cabinets should be easy to remove by lifting them toward you. You can try all the steps for the rest of the other units.
(You may also like this: 10+ Unique Open Kitchen Ideas to Make a Modern Overall Design)
Instead of hiring professionals, you might want to try these steps first by yourself to save more on the budget for something else. So, are you ready to work on it now?