A dining room table is not just a piece of furniture; it is the heart of your dining area, where family and friends gather to enjoy meals and create lasting memories. Over time, though, your once-stunning table may lose its luster and show signs of wear and tear. However, before you consider replacing it, why not breathe new life into it through refurbishment? In this article, we will guide you through the process of revitalizing your dining room table, allowing you to preserve its charm and elegance for years to come.
A Step-by-Step Guide on How to Refurbish a Dining Room Table
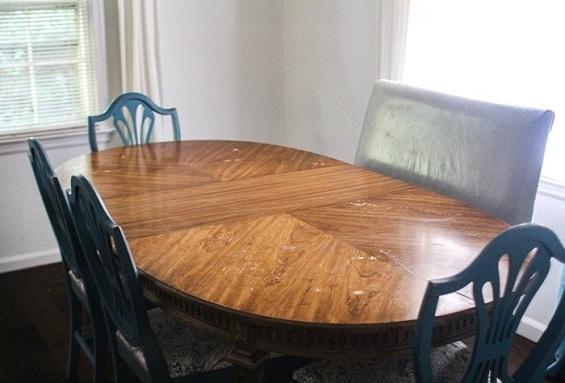
Assess the Condition
Before diving into the refurbishment process, take a close look at your dining room table to evaluate its current state. Identify any visible damage, scratches, dents, or loose joints that need attention. This assessment will help you plan the refurbishment process more effectively.
Gather Tools and Materials
To refurbish your dining room table, you’ll need a few essential tools and materials. Some of the items you’ll require include sandpaper (of various grits), wood filler, a putty knife, a paintbrush, wood stain or paint, a sealant, and a soft cloth. Gather these supplies before proceeding to the next steps.
Prepare for Refurbishment
Begin by removing any existing finish on your dining room table. If there is a varnish or paint layer, use coarse-grit sandpaper to strip it off. Move in the direction of the wood grain to avoid causing additional damage. Once you’ve removed the existing finish, switch to finer-grit sandpaper to smoothen the surface further. Remember to wipe away any dust or debris with a clean cloth.
Repair Any Damage
Inspect your table for any scratches, dents, or loose joints that need repair. Apply wood filler to fill in the gaps and imperfections. Use a putty knife to spread the filler evenly and remove any excess. Allow the filler to dry completely according to the manufacturer’s instructions, and then sand the repaired areas gently to ensure a smooth finish.
Choose a New Finish
Now comes the exciting part—selecting a new finish to enhance the appearance of your dining room table. Decide whether you want to stain the wood to accentuate its natural beauty or apply paint for a more vibrant look. Take into account the existing decor and color scheme of your dining area to ensure a cohesive design. Apply the chosen finish carefully, following the instructions provided, and let it dry thoroughly.
Apply a Protective Sealant
To protect the refurbished dining room table and prolong its lifespan, apply a sealant. Whether you used stain or paint, a sealant will provide a durable and resistant layer. Brush on the sealant evenly, and let it dry completely before using the table.
We would also recommend this : 10+ Modern Dining Room Ideas to Create Chic Look
Finishing Touches
Once the sealant is dry, inspect your dining room table for any touch-ups. If you notice any areas that require additional attention, sand them lightly and apply another coat of paint or stain. Once you are satisfied with the final result, buff the surface gently with a soft cloth to add a smooth and polished look.
Refurbishing a dining room table can be a rewarding project that allows you to revive its beauty and extend its lifespan. By following the step-by-step guide provided in this article, you can transform a worn-out table into a stunning centerpiece that enhances your dining area. Remember, refurbishment requires patience, attention to detail, and a willingness to experiment with different finishes. So, roll up your sleeves, gather your tools, and embark on the journey of revitalizing your dining room table today!